This one is a quickie
In one of the mailinglists I am subcribed the members were discussing if different Arduino shields are compatible with various Arduinos. I had years ago found a solution to this and want to share it, as it is simpler than anything else I have read about and i think it’s a pretty elegant solution too. It also spares you the breadboard aproach, that I personally never liked much.
So when you have a matching pair of an Arduino clone and a Arduino shield then you can just simply plug them in like this:


 Shown here with a Digispark and the fitting Charlieplex Digishield. That is pretty straightforward.
But what can you do when you come across some incompatible boards like this ? 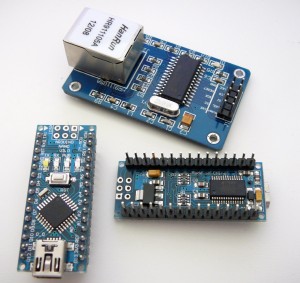 Shown is a cheap ethernet shield with a Arduino Nano v3.0
This is what I came up with : 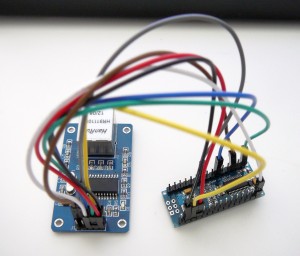 I am using these wires, called “Dupont Line” or more accurately “Dupont Line 1P-1P”. With these you can easily connect each pin 1 by 1, just as you need them. See this:
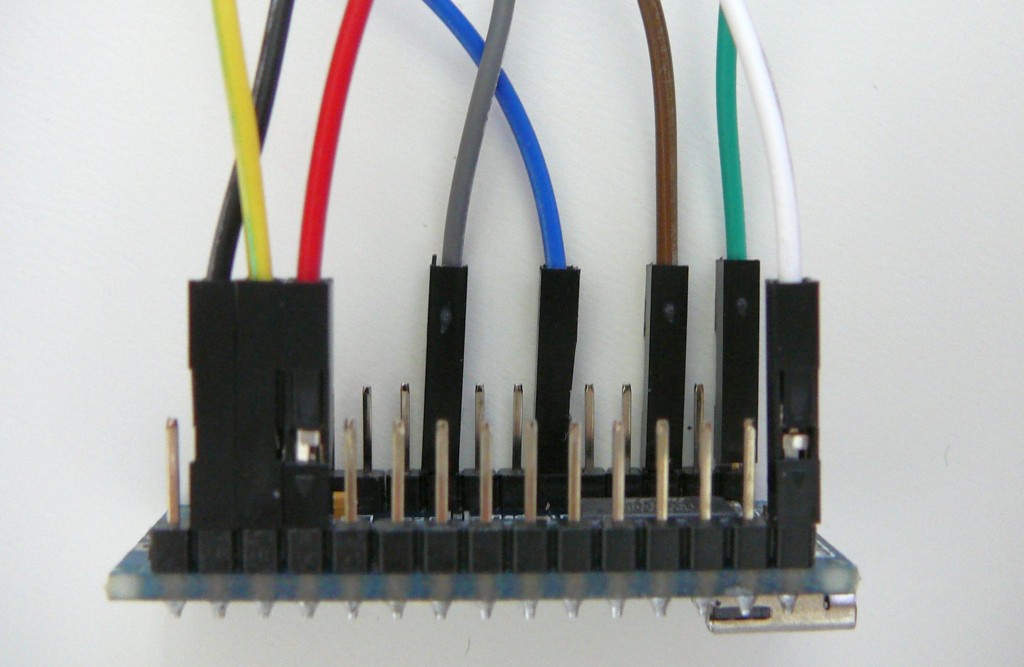 I had a pretty hard time to find out what they are called (due to me not being a native english speaker) and even posting pictures in forums did not help. It is pretty vexing to know that something exists and is being sold, but not knowing how to order it. Now I know what to search for, the usual “chinese webshops” seem to be full of them.
They all have seperate connectors on both ends so you can freely attach them to any empty pin header. They come as a fully connected flat ribbon cable. So instead of separating them completely, you can also just leave them in groups to better distingish the signal they carry, since the colorspace is somewhat limited with only 10 colors.
Sooner or later though you will come across this problem: 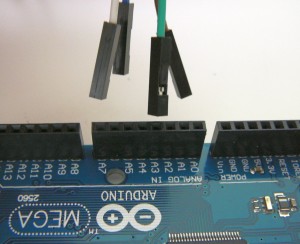 One side, eihter the shield or the Arduino will have sockets instead of pinheaders. But of course there is a solution to that one too. I use some spare pinheaders for the job, like this:
I simply press the metal pins to the middle of the pin header, that way I can i.e. connect two cables. This also works with the sockets on the PCBs. But the connection is not very stable. The lenght of the pins is just enough for the cables to hold on. So they fall of pretty easily. A better solution is to completely remove the plastic part of the pin header and stick the metal part into the end of the cable. Later when you don’t need it anymore, you can just remove it by pulling out. Put the little pins in a bag or they will get lost too easily. I also tried just simple uninsulated wires but they fall off to easily so keep using the pinheader-pins.
This way I can connect all my controller boards to all of my add on shields no matter what type they are. See a selection below :
 I think this way of connecting shields with boards is a little bit more office-desk friendly than using a breadboard, which always seemed more “workbenchy” to me…
Thanks for reading! Please leave a comment below if you liked this.


